
選擇自訂安裝
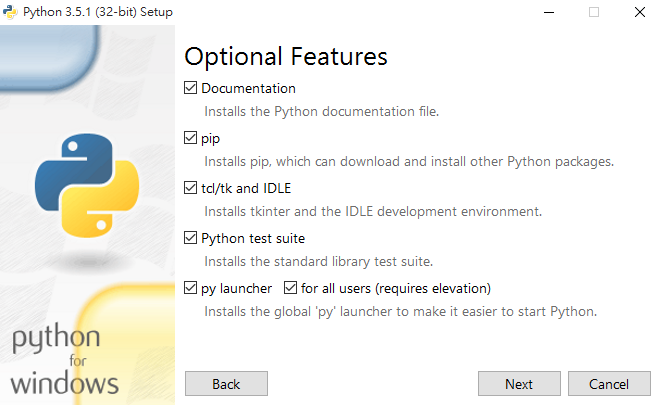
此頁直接全選 > Next.

若沒有設定環境變數 在命令提示字元(cmd)下打python 會無法辨識:

接著如下是環境變數設定 先確認我們安裝的路徑是正確的 確定是在C:\底下 而非program files(會有系統保護的問題,未來在安裝或更新套件會有問題)

隨即 到 我的電腦(右鍵內容) > 環境變數(點選編輯系統變數) > 將路徑貼上至Path的內容後方,記得用逗號分開。

接著我們先安裝pip模組:就可以用pip安裝其他模組
https://pip.pypa.io/en/stable/installing/
必須先另存py檔https://bootstrap.pypa.io/get-pip.py
下個步驟是執行它python get-pip.py

再來我們就可以透過python指令在cmd模式下 安裝pyserial套件跟 pyvisa套件了 :
python -m pip 可以查看模組 pip模組介紹 pip套件官網(取代easy_install的python套件安裝神器)
python -m pip install -U pip 可以更新pip模組
python -m pip install -U pyserial 可以安裝pyserial模組,並更新到最新版本
python -m pip install -U pyvisa 可以安裝pyvisa模組,並更新到最新版本 pyvisa官網
python -m pip install -U junit-xml 可以安裝junit-xml模組
python -m pip install -U pytest 可以安裝pytest模組
python -m pip install -U openpyxl //Exel專用模組
python -m pip install -U pillow //圖形處理專用模組
python -m pip install -U PyQt5 //Python下的UI開發
python -m pip install -U bs4 //Python下的網路爬蟲專用模組
python -m pip install -U PyPDF2 //PDF專用模組
python -m pip install -U xlsxwriter //Excel寫入專用模組
python -m pip install -U Python-Docx //Word專用模組
python -m pip install -U subprocess //工作排成與程式啟動專用模組
python -m pip install -U pyautogui //自動化GUI操作模組
python -m pip install -U paho-mqtt
******************* OpenCV相關模組庫 *******************
python -m pip install -U Matplotlib //Python下的繪圖庫模組 常用來產生報表
python -m pip install -U numpy //Python的科學運算 矩陣相關...
python -m pip install .\opencv_python-3.3.0+contrib-cp36-cp36m-win32.whl
//關於opencv的cv2模組 影像處理與操作,
安裝教學可以參考 : https://www.youtube.com/watch?v=ulJdZn0qBCQ
下載安裝包地址(opencv for python3) : http://www.lfd.uci.edu/~gohlke/pythonlibs/
******************* OpenCV相關模組庫 *******************
pip更新模組指令 : python -m pip install --upgrade pip (更新pip模組)

為了確定此兩套件順利安裝,我們可以在cmd打python進入python mode或是開啟python專用的IDE (IDLE) 並打入
import visa(enter鍵送出)
import serial(enter鍵送出)
來確定是否有錯誤訊息跳出,若順利執行則安裝成功

Ubuntu12.04 64bit安裝流程 :
wget https://www.python.org/ftp/python/3.5.1/Python-3.5.1.tar.xz
tar xfvJ Python-3.5.1.tar.xz
cd Python-3.5.1
./configure --prefix=/opt/python3.5
make
# To make idle3.5, you need tk's development to produce tkinter
sudo apt-get install tk8.6-dev
sudo make install
Your python 3.5 interpreter will be located in
/opt/python3.5/bin/python3.5. Your Integrated DeveLopment Environment is also found in /opt/python3.5/bin/idle3.5.
To facilitate use you can symlink these files to a location on your
$PATH like so:sudo ln -s /opt/python3.5/bin/python3.5 /usr/local/bin/py3.5
sudo ln -s /opt/python3.5/bin/idle3.5 /usr/local/bin/idle3.5
After this, just typing
py3.5 from the command line will use python 3.5, while at the same time, python 3.4 will remain untouched, and will not cause any "breakage" on your system. Also, idle3.5will bring up the IDLE editor with the python 3.5.1 shell.
 OSX10 (Mac OS)安裝流程 (感謝RD同仁610提供) :
至官網點選Mac OS X版本的python3.5.1環境

下載後直接點選主程式進行安裝

通過版權的閱讀並打完系統管理員密碼後 安裝後所見如下 :

在mac的command line模式中 輸入python會進入MacOS內建python2.7.1,所以往後要執行時需要特別鍵入python3才能啟動python3的編輯

=====================================================================
Python專用開發工具-PyCharm
關閉波浪虛線檢查
說明:如上圖所示,PyCharm會開啟自動檢查,指到會顯示Pep8 indentation contains tabs.
在請教google大神後查詢到PyCharm 2016.1 Help-Changing Indentation 按下Ctrl+Alt+L之後即可解決!!!
出現pep8 expected 2 blank lines found 1
expected two blank lines pep8 warning in python
每個function的定義段必須先空兩格 否則會被PyCharm檢查出來
File --> Settings -->Editor -->Appearance

字體大小修改
File --> Settings -->Editor -->Colors & Fonts--> Font
Scheme -->Save as--> select copy scheme--> change font size
設定字體需要自己定義一個樣式集,不能再IDE原生樣式集上面做修改
沒有留言:
張貼留言